 |
| Color Balance |
Color Balance in Photoshop is also a very useful tool. It works with all the other Tools such as Curves and Levels. It has been used to match the color of two different pictures in tone.
Now let's check it.
- Click file and open a Photo. I have chosen the following picture which is my own

- Now open a Background. I am going to use the following

- Now Draw A selection around the Photograph. The area other then my face and hands.
 \
\- Now Press Ctrl + Shift + I to inverse the Selection. and then Drag the Photo to the Background that you have selected.
- Press Ctrl+T to adjust the size of the sliced picture according to the canvas size.

- Now as you can see at the moment the picture is not going that well with the Background.
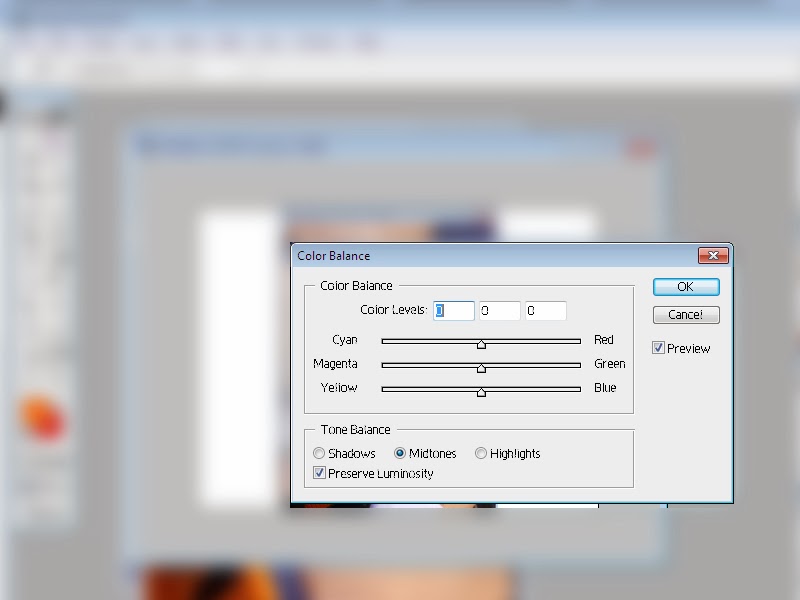
- To adjust the, Click on Image > Adjustment > Color Balance or Ctrl + B. Following Dialog box will be opened.

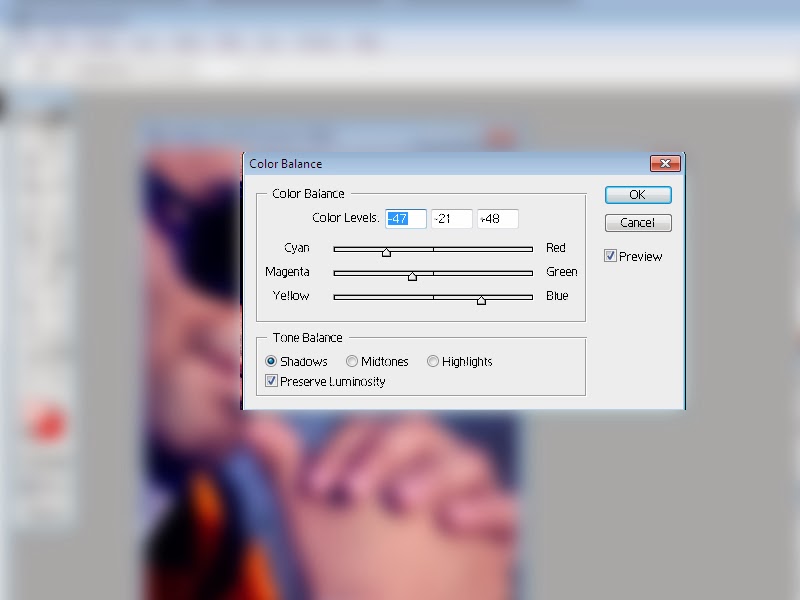
- Now adjust the color balance of your picture according to the background by using this dialog box. Once you see your desired result. click on OK.. I have chosen Shadows and -47 Cyan, -21 Magenta and +48 Blue and the following result was displayed. do a little extra and put some curves effect in it :)


0 comments:
Post a Comment