
- Open Adobe Photoshop 7
- Click on New on the Menu Bar
- Or Press Control + N (Ctrl+N)
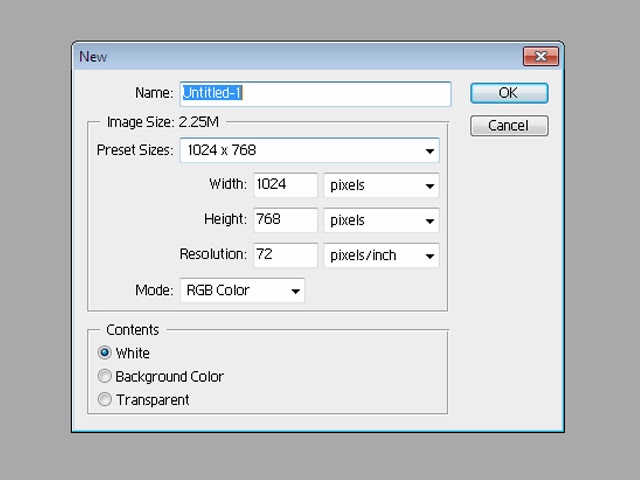
- Dialog Box will be opened.
- Now, Let's we want to print a 4x6 picture which is standard size for the Photograph people usually like to print.
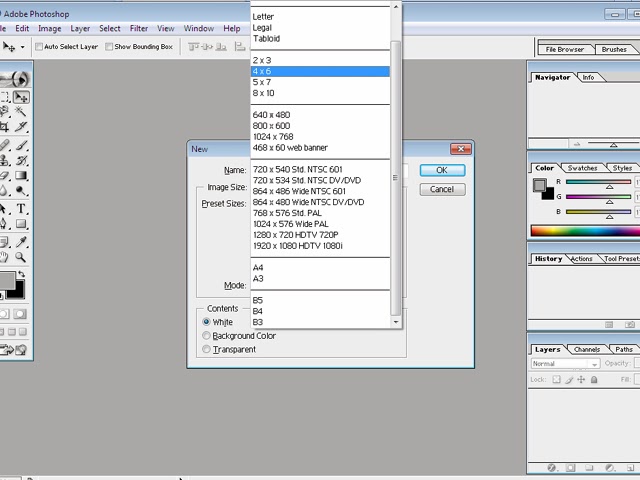
- Click on the Preset Size.
- You'll see that it has for options 2x3, 4x6, 5x7 and 8x10. You cant choose any of those according to your requirement. I am choosing 4x6. You can also change the width and height as per your requirement.
- Set the resolution to 300 Inch/Pixel.
- Click on OK
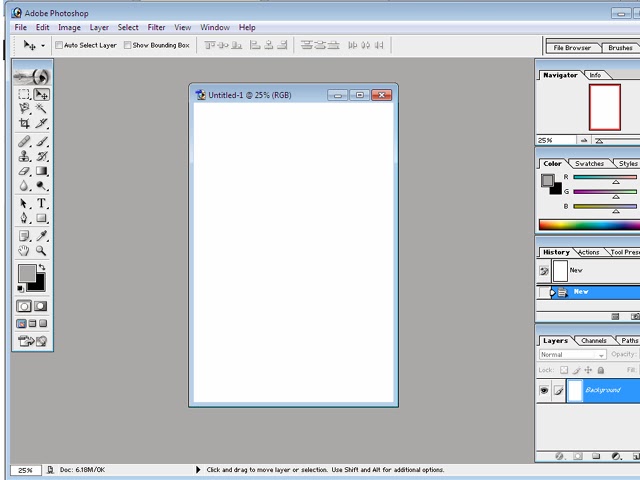
- You'll have your 4x6 size.
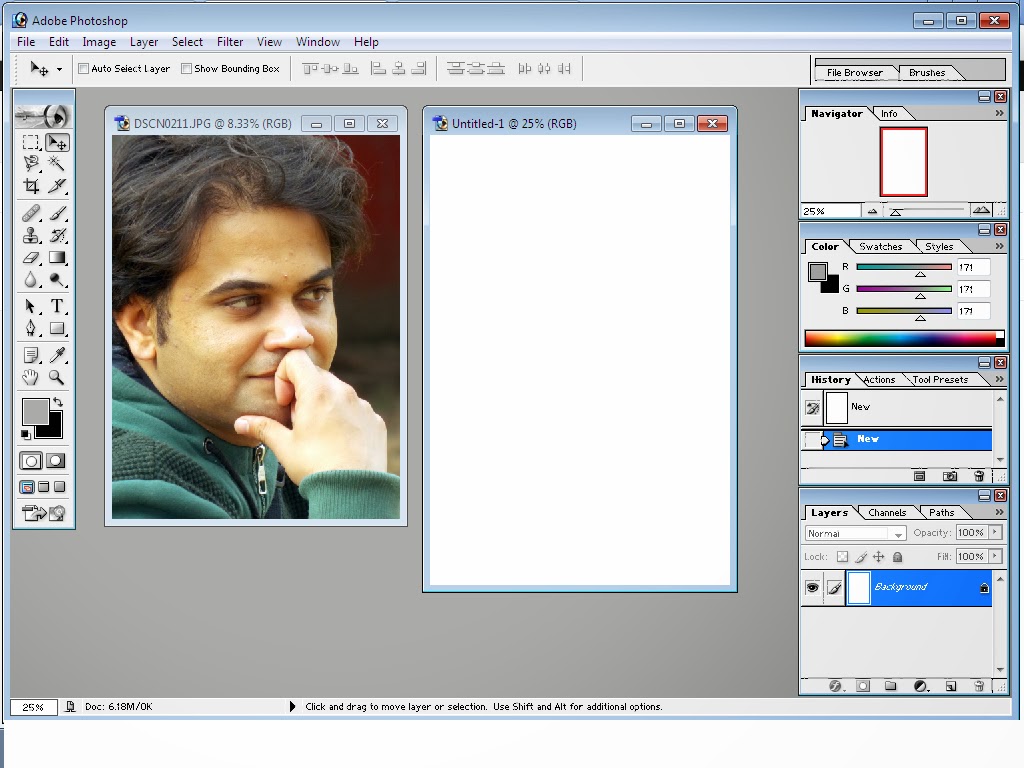
- Now, open any picture that you want to get printed.
- Go to File and the Click Open (Ctrl+O)
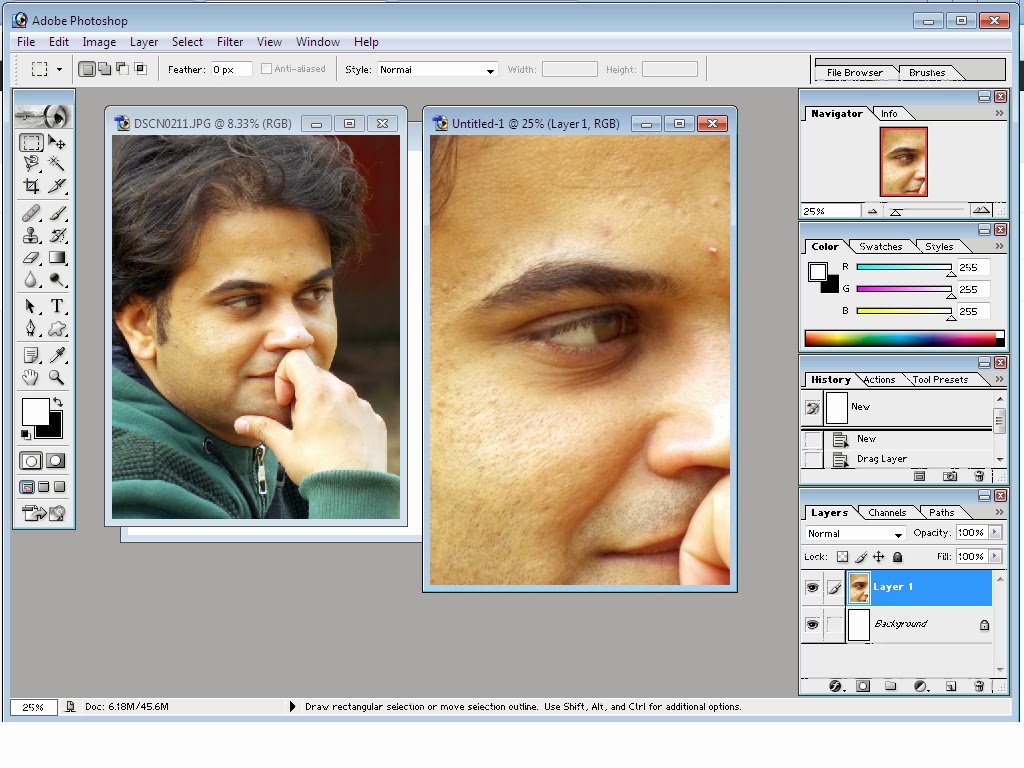
- After opening your desire Picture, Just click and Drag the picture to your new 4x6 Photo.
- Adjust the size of your picture according to the 4x6 size by pressing Ctrl+T.
- Use Control + - to Zoomout and Control + + to Zoom in.
- Press Enter to complete the re-sizing the picture.

- Save the file by Clicking on File Menu and Save As or Ctrl+S.
- Choose JPEG.

- There you have the 4x6 Size.


0 comments:
Post a Comment